Forked Frosting Design
 |
- Begin by removing the cake from the pan and placing it on a cake plate or board. If you do not want to remove the cake from the pan it can be left in and the pattern can be applied to the top only.
- Once the cake is out of the pan, spread the frosting around the sides of the cake and then frost the top. Spread the frosting out as smoothly as possible before beginning the design.
|
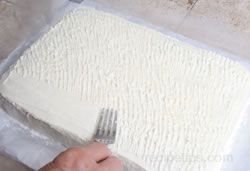
- After the frosting has been smoothed out begin the pattern by pressing the back of a fork into the frosting. Begin in one of the top corners of the cake and move across the length of the cake, using the impression of the last tong as a guide. You can make the impressions straight up and down or you can make them at a slight angle.
|
|

 |
- Once you have finished the full length of the cake, move the fork down to the next roll and make the impressions across the length of the cake in the same manner. Continue adding rows of the pattern until the entire top of the cake has been covered.
|
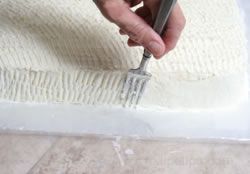
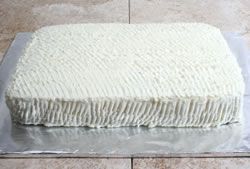
- When the top is completed, begin making the forked impressions around the sides of the cake in the same manner. Depending on the height of your cake, you may have to make a couple of rows around the cake to cover the sides completely with the pattern.
|
|
 |


|
|

 |
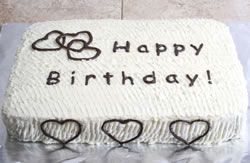
- This forked frosting design is nice for just a simple finish for your cake or it makes a nice background design that can have other decorative touches added to it.
Note: If the wax paper is still under the cake, protecting the cake plate or board, it could be removed now. Slowly slide the paper out by carefully sliding it left to right as you gently pull it out. Do not just pull it out towards you because you will run more of a risk of damaging the bottom edge of the cake and frosting. |

