Swirled Frosting Design |
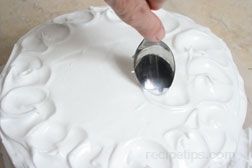
- Using the tip of a spoon, make swirl designs in the frosting by first making a half circle to the left, starting at the 12 o'clock position swirl down to the 6 o'clock position.
|
|

|
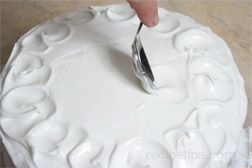
- In the same manner, start at the 12 o'clock position again and swirl to the right, down to the 6 o'clock position, meeting the bottom of the left half circle. Continue to create the swirled circles until the top has been covered.
|
|
 |

 |
|
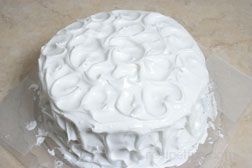
- Once the top has been filled with swirls, create the same design pattern all around the sides of the cake.
|
- This same simple frosting design method can also be used to make random half circle swirls all over the cake rather than connecting them together into a circle.
|
| Note: If the wax paper is still under the cake, protecting the cake plate or board, it could be removed now. Slowly slide the paper out by carefully sliding it left to right as you gently pull it out. Do not just pull it out towards you because you will run more of a risk of damaging the bottom edge of the cake and frosting. |
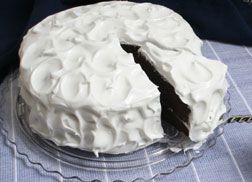
- When finished, the swirled frosting design provides a nice decorated touch to the cake, perfect for any special occasion.
|
|
 |

