|
More Simple Frosting Designs
Peak Frosting Design | Swirled Frosting Design | Swirled Line Frosting Design
Wavy Line Frosting Design | Circled Ridges Frosting Design | Forked Frosting Design
Ripple Frosting Design
 |
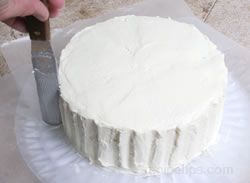
- After the frosting has been spread and smoothed on the sides and top of the cake, begin adding the design to the cake by holding the blade of a long offset spatula vertically on the side of the cake.
|


|
|
- Press into the frosting and with a sweeping motion come back up, then back down, and back up. Each sweeping motion should move the blade approximately 1 inch around the cake.
|
- Turn the cake as you go and continue the up and down sweeping motion. Turn it until you have gone all around the cake with the rippled pattern.
|

|
|
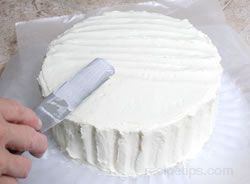
- Ripple the top by placing the tip of the spatula flat along the furthest edge from you and begin sweeping the blade back and forth all the way across the cake from one edge to the other. Move the blade towards you as you go, making each sweep about 1 inch wide to match the thickness of the vertical ripples on the side of the cake.
|
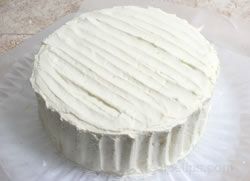
- When finished, you will have a cake decorated with an easy but attractive ripple frosting design.
|
|

 |
| Note: If the wax paper is still under the cake, protecting the cake plate or board, it could be removed now. Slowly slide the paper out by carefully sliding it left to right as you gently pull it out. Do not just pull it out towards you because you will run more of a risk of damaging the bottom edge of the cake and frosting. | |

