For many bread recipes the final rising is often the second rising, while other breads may require two or more cycles of rising, punching, and kneading before being shaped and allowed to rise for the final time. This final rising period, known as proofing, is faster (usually about half the time of the initial rising period) due to the abundance of yeast cells that are present in the dough from the previous fermentation period.
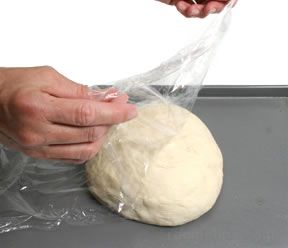
| Proofing should occur in an area that is free of drafts and is of a constant temperature. If the temperature of the proofing area is below 75ºF, the dough can be placed on top of a preheated oven. There is nothing wrong about proofing the dough in a cool area - it will just take more time. Always cover the dough with a clean kitchen towel or oiled plastic wrap during the proofing period. |

|
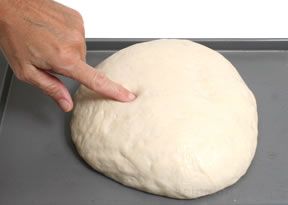
| The dough will rise to about double in size, but this may differ according to the recipe. Press on the dough with a finger to check if it has risen sufficiently. If the dough springs back quickly, it is an indication that the dough has not risen sufficiently, but if the indentation remains, it indicates that the dough has properly risen. This is the same test that is performed during the initial rising period. Do not over-proof the dough because it may collapse when touched or when it is placed in the hot oven. |
 |
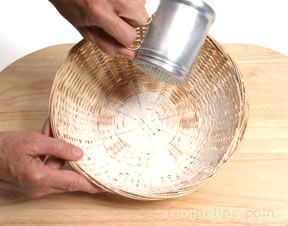
| Proofing baskets are also used for proofing some types of bread dough. "Bannetons," are used for proofing long loaves, such as baguettes, and "couronnes," are used for proofing round loaves. In France, these two types of baskets are usually lined with canvas or linen. In Germany, some breads are proofed in a floured basket with no lining. The basket creates a woven pattern on the dough, which results in bread that has a distinctive appearance when baked. |
 | |


