|
Before carving, the meat should set for 10 to 15 minutes after it is removed from the heat source. This allows the juices to be redistributed throughout the meat, resulting in a firmer, juicier, and easier to carve ham. A country ham will carve easier if it is at room temperature or cooler. Choose a carving knife that is long enough to cut the entire length of the cut. It is important that the knife be extremely sharp; a sharp knife will allow thin slices to be carved and make carving easier. Shown below are the steps to carving different ham cuts and how to slice a ham with the meat still on the bone.
Whole Ham | Spiral Sliced Ham | Shank Half Ham | Butt Half Ham
Whole Ham
- Place the ham on a cutting board and trim off 2 or 3 slices, parallel to its length, from the thin side of the ham. Turn the ham so that it rests on the flat side created from trimming off the slices.
|
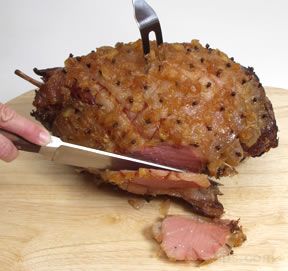 |
- Hold firmly with a carving fork and starting at the shank end, cut slices across the ham, down to the bone.
|
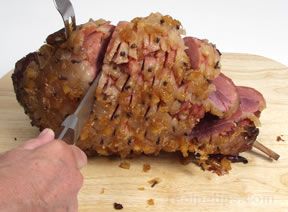 |
- After cutting the slices, cut parallel along the bone to release the slices. Place slices on a serving platter.
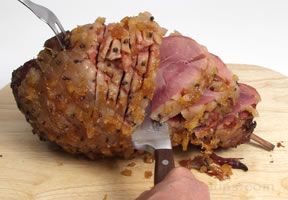
- Turn the ham and continue to carve slices in the same manner.
|
 |
Spiral Sliced Ham
Special spiral sliced hams provide slices that are uniform in thickness. Three basic cuts are generally all that are required to cut the slices from the bone.
Shank Half
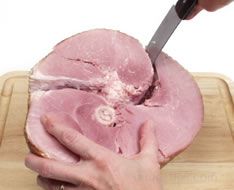
- Place the bone-in ham on a cutting board and trim off 2 or 3 thin slices from one side of the ham. Turn the ham so that it rests on the flattened side created from trimming off the slices to steady the ham while carving.
|
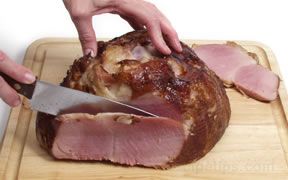 |
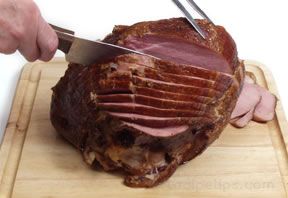
- Starting at the narrow end of the ham, begin making 1/4 inch slices (or desired thickness) in the ham, slicing down to the bone.
|
 |
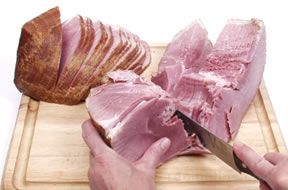
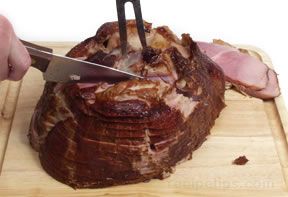
- After all slices are cut on the first side, place the ham on its flat end. Trim slices off by cutting down through the ham, close to the bone.
|
 |
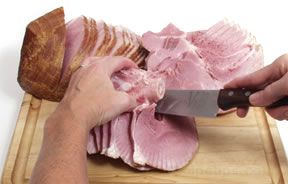
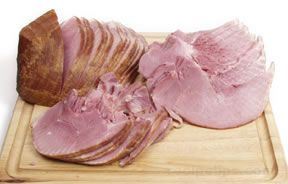
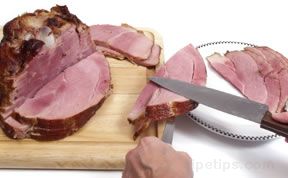
- After cutting down through all the slices, place them neatly on a serving platter.
|
 |
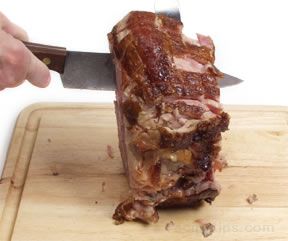
- Flatten one of the remaining uncut sides of the ham by cutting 2 or 3 thin slices off. Stand the ham up on the flattened side and start slicing the uncut side, beginning at the narrow end of the ham.
|
 |
- Set the ham on its flat end and trim down close to the bone to release the slices from the ham. Place slices neatly on the platter with the other ham slices. Continue to trim the two remaining sides of the ham in the same manner.
|
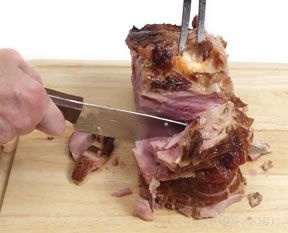 |
Butt Half
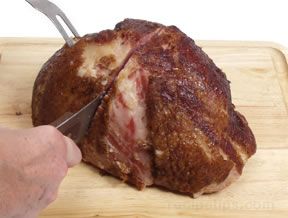 |
- Lay the flat end of the ham on the cutting board. Cut down through the ham as close to the bone as possible, cutting off the largest section of boneless meat from the ham. Set the boneless section aside to be sliced after slicing the remaining section of the ham.
|
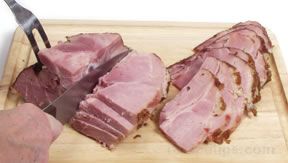 |
- With the flat end still on the cutting board, cut 1/4 inch slices (or desired thickness) parallel to the flat end of the ham. Start slicing at the top and continue down until all slices are cut. Release the slices from the ham by cutting down through the ham, close to the bone. Place the slices neatly on a platter. Slice the other side of the remaining ham in the same manner.
|
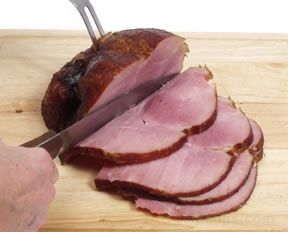 |
- After cutting the slices from the bone-in section of the butt ham, slice the boneless section into the desired thickness. The slices from this section may be fairly large so you may want to cut them in half to produce smaller slices for serving.
|
For more information on cooking and carving ham, see the Ham Cooking Guide.
Also see more information on preparing, handling, and storing ham with the complete Ham Guide. |


