Tying a Rib Roast | Tying a Tenderloin | Tying a Top Blade Chuck Roast
|
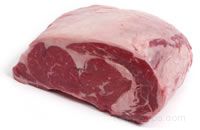
Tying various cuts of beef is a good way to hold the shape of a roast, to keep the cut of beef in a compact form, and to make sure that the meat will be cooked evenly. Beef roasts or steaks that have been boned are often rolled and tied before roasting. The tying allows the roast to be stuffed and makes for a more attractive presentation when serving.
| |
| It is important to use a natural string of cotton or linen which will not burn during the cooking process or ruin the flavor of the beef. Butcher's string is the best to use because it is a bit heavier than other types of common kitchen string, which makes it easier to handle. When tying a cut of beef, it is important that the string is tight enough so that the desired shape is held in place, but that the string is not so tight that the natural juices will be squeezed from the meat during the cooking process. | 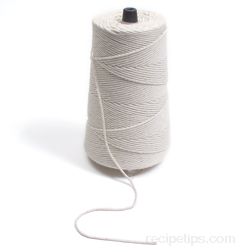 |
|
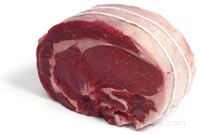
Standing Rib Roast It is usually a good idea to tie a standing beef rib roast (a rib roast in which the bones have not been removed) so that the outer layers of meat do not pull away from the rib-eye during the roasting process. Using a simple knot, tie pieces of string around the roast so that the string runs between the spaces of each of the rib bones. |
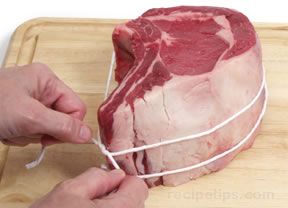 |
| Tying the standing rib roast will make for a more attractive presentation when the roast is served because when the string is removed after cooking, the roast will hold its shape. | |
|
Boneless Rib Roast It is much easier to carve a boneless rib roast when it is ready to serve than one that still includes the bones; however, it is beneficial to cook the bones with the boneless meat in order to provide the rib roast with additional flavor and moistness. To this end, if you have previously removed the bones from the roast, it will be necessary to tie the bones to the meat prior to cooking. | |
| Tie the bone section (chine bones and rib bones that have been removed in one piece) to the boneless meat using butcher's string. Wrap the string between the rib bones and around the meat on each end of the roast. Make sure the chine bones are secure as well. In addition, tie string around the meat and bones in the center of the roast. | 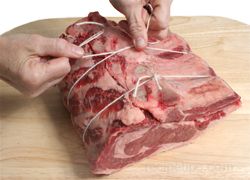 |
| In order for the tenderloin to cook properly, the narrow end is usually tucked under so that the entire tenderloin appears to have a consistent diameter across the length of the roast. The tenderloin is then tied with pieces of string at 1½ to 2 inch intervals. |  |
|
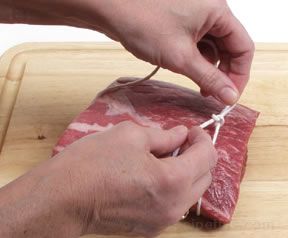
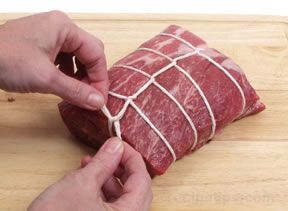
Tying a top blade chuck roast provides better results for pot-roasting. The first step is to wrap a piece of string, which is at least 6 feet in length, around the short circumference near the end of the roast and tie a double knot. |
 |
|
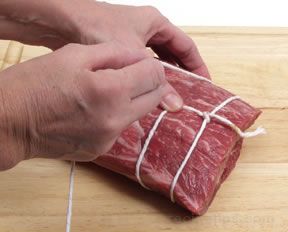
Pull the remaining string down from the knot, approximately 1 to 2 inches (depending on the size of the roast), and hold it in place with your thumb. Loop the remaining string around the short circumference of the roast and back to the string under your thumb. |
 |
|
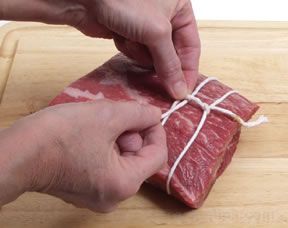
Run the string under the string beneath your thumb to create a loop and pull the remaining string down from the loop. |
 |
|
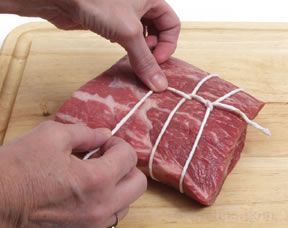
Once again, place your thumb on the string at a 1 to 2 inch distance from the previous loop and run the string around the roast back to the position of the string beneath your thumb to make another loop. Repeat the process until the entire length of the roast has been tied. |
 |
|
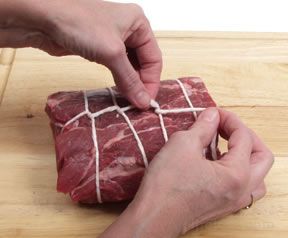
Roll the roast over and run the string over and around each of the loops on the underside. |
 |
|
Wrap the remaining string around the end of the roast and then flip the roast over again to tie the end of the string to the original knot. |
 |


