Shopping Tips | Thawing Tips | Cooking Tips | Roasting/Baking Tips | Grilling Tips | Checking Doneness | Refrigerating Tips | Freezing Tips
Shopping Tips:
- Decide the type and quality of ham that you want for your serving intentions. You would not want to select a "ham and water product" to serve for a nice ham dinner and you would probably not purchase a "ham with natural juices" to make sandwiches for lunch.
- Determine whether you want a bone-in ham for the additional flavor it provides or a boneless ham for the ease of carving.
- Know a head of time the number of people you will be serving and take into consideration their eating habits. If you are serving a number of teenagers in comparison to small children, the quantity you need will definitely be affected. See Quantity to Buy.
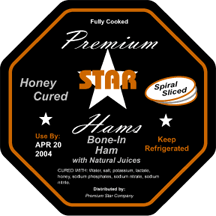
- Read the label on the ham carefully to be sure you are getting what you expect. Be knowledgeable about the terminology used on the label. See Read the Label.
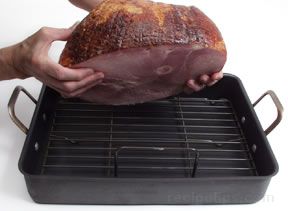
- Hams can be quite large so be sure you have a pan large enough to cook the ham. If not, consider purchasing two smaller size hams to satisfy your needs.
- Realize that the better quality hams and extra features will generally add to the cost of the ham.
- Always select ham that has been inspected and approved for wholesomeness to guarantee that it was processed under sanitary conditions and is free of disease.
Note:
Always select meat just before you are ready to check out at the supermarket. Raw meats should not be put in bags with other foods. In warm weather, raw meat should be placed inside the car so that it can be exposed to air conditioning. If the travel home will take more than an hour, be sure to have a cooler that the meat can be stored in for the ride home.
Thawing Tips:
- Plan ahead so that you will have adequate time to defrost the frozen ham using one of the proper methods. Having the meat slowly thaw in the refrigerator will result in the best quality of meat and is the safest method for preventing food borne disease.
- When thawing in the refrigerator, realize that food placed in the coldest area of the refrigerator will take longer to thaw than if placed in another area. Also, food place in a refrigerator set at 35°F will take longer to thaw than one set at 40°F.
- While thawing, be sure that drippings do not contaminate other food or preparation surfaces.
- To store ham after it has been thawed in the refrigerator, remove from wrapping and blot dry with a paper towel. Place on a tray with sides to catch drippings, cover loosely and place in the refrigerator in an area where there is no danger of the juices dripping onto food that will be eaten with out cooking, such as raw vegetables and salad fixings.
- As the ham is thawing in the refrigerator, it may have juices that accumulate on the tray where the meat is sitting. These juices should be drained off as they accumulate. The juices will deteriorate and go bad faster than the meat and will then contaminate the meat.
Cooking Tips:
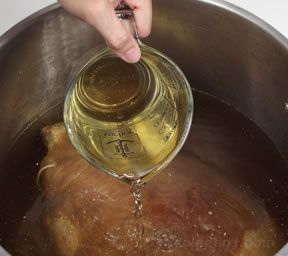
- Soak country hams prior to cooking to reduce their saltiness.
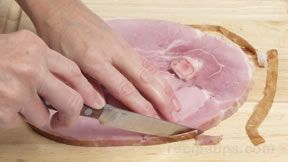
- To remove rind easily off from a cooked ham, slit the rind lengthwise down the ham before cooking and cook with the slit side down. Remove immediately after cooking and the rind should pull off easily.
- It is best to serve country hams in very thin slices because of their very intense flavor and saltiness.
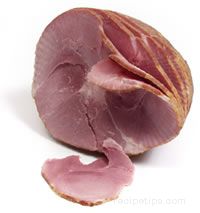
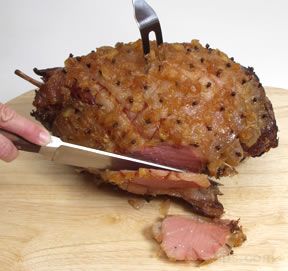
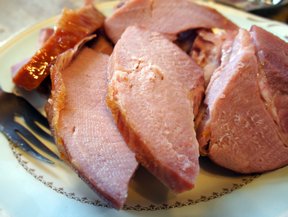
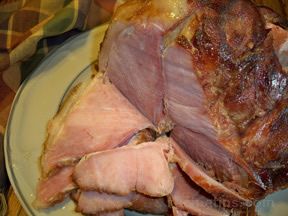
- Ham is easier to slice thin when it is cool.
- Do not overcook ham or it will become dry and tough. The threat of trichinosis is eliminated when the ham is heated to 137°F, but the USDA recommends that uncooked pork should reach 160°F to be safe. Fully cooked ham should be cooked to 140° F to intensify its flavor and juiciness.
- Do not baste the ham with its juices as it is cooking because they are too salty and will only add more saltiness to the ham.
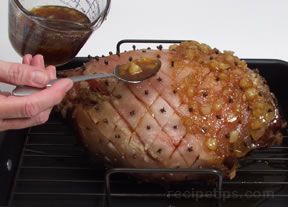
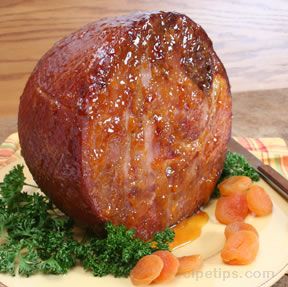
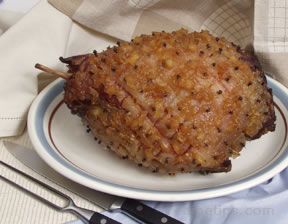
- Glazing the ham at the end of the cooking process adds flavor and a more appealing finished look to its appearance.
- Removing a canned ham is made easier by first placing the sealed can in hot water for 1 or 2 minutes. Open and slide the ham out.
Roasting/Baking Tips:
- To add extra flavor, apply a glaze to the ham during the last 30 minutes of the cooking time.
- Roasting at a lower oven temperature (NEVER roast meat below 200°F) will result in meat that is more flavorful and moist. It will take longer to cook but the results will be worth the wait.
- Do not use sharp utensils that may pierce the ham when trying to turn it because piercing allows valuable juices to escape. Use other utensils, such as wooden spoons and spatulas for handling the ham.
- If cooking more than one ham, be sure that there is uniform space around the hams so that they will cook evenly. The hams should not be touching and there should be enough space around them to allow air and heat to circulate.
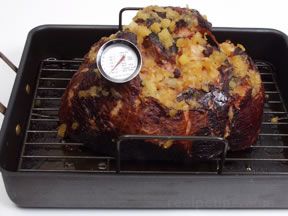
- When placing a thermometer in the meat to check for doneness, be sure that the stem is not touching a bone because this can result in a false reading.
Grilling Tips:
- Preheat grill to proper temperature to ensure the meat's surface is seared quickly to give it a flavorful crust.
- Using clean racks and coating them with vegetable oil or a nonstick vegetable oil spray will help prevent the meat from sticking.
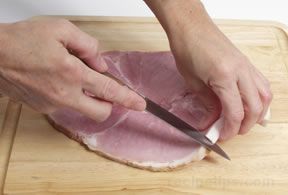
- To keep ham slices flat while grilling, clip fat around the edges at 1 to 1 ½ inch intervals.
- Do not use a fork to turn the ham as it cooks. The piercing causes juices to escape. Use tongs to turn.
- Keep an area in the charcoal grill empty of coals so if a flare up occurs or some of the meat is cooking to quickly, the meat can be moved to this area. On a gas grill, leave one burner on low.
Tips for Checking Doneness:
- When poked with a meat fork, the meat will show little resistance.
- The meat will begin to separate from the bones and the larger bones will be easy to move.
- To ensure doneness, check with a meat thermometer. A thermometer inserted into the thickest part of the cut should produce a temperature of 160°F for an uncooked or partially cooked ham and 140°F for a fully cooked ham.
Refrigerating Tips:
- Do not slice the ham until just before using. Slices will lose moisture and dry out faster than uncut pieces.
- Check the temperature of your refrigerator with an appliance thermometer on a regular basis to verify that it is maintaining the proper temperature
- Chill leftovers quickly by dividing them into shallow dishes before refrigerating. This will shorten the time that the pork is in the danger zone between 40°F and 140°F.
- If you are not sure whether the ham has been refrigerated for the maximum suggested storage time and you are questioning if it is safe to eat, do not taste test it . . . be safe and THROW IT OUT!
Freezing Tips:
- Use moisture proof wrap or bags when freezing ham. Wax paper is not moisture proof and should not be used for wrapping ham because it would not hold the moisture in the meat.
- Freeze ham as soon as possible to maintain the best quality.
- Do not freeze canned ham. If the canned ham is not a shelf stable item, remove the meat from the can, wrap tightly, and then freeze.
- If the ham has a bone that could poke through the wrapping, protect it with foil or plastic wrap before wrapping the entire piece.


