Kitchen Tips and Techniques: Chili | Preparing Basic Chili Ingredients | Storing Leftover Ingredients
Kitchen Tips and Techniques: Chili
|
Preparing Basic Chili Ingredients
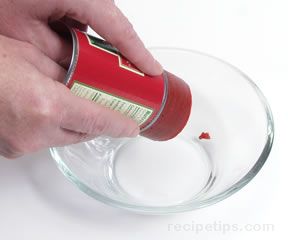
Tomato PasteTo easily remove tomato paste from a can: Use a can opener to open both ends of the can. Remove only one lid. Carefully push the other lid through the can with your thumbs to extract the paste. |
 |
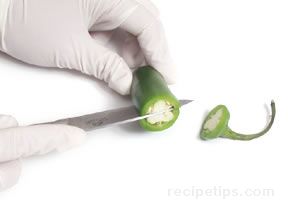
Preparing a Chile PepperWhen preparing hot peppers, use caution not to touch the eyes or similar areas that can be painfully affected by the capsaicin that rubs off on hands. Wearing rubber gloves is recommended as well as washing hands immediately after removing the gloves. Begin by removing the stem and slicing the chile pepper in half. |
 |
| With a teaspoon, carefully remove the ribs and seeds. | 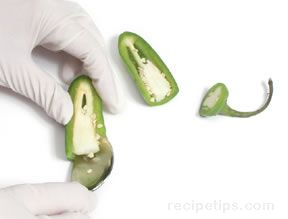 |
| The pepper can now be sliced and cooked. | 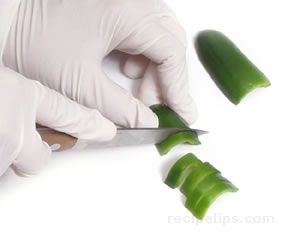 |
Chili PowderChili powder is a spice blend consisting of one or two types of dried red chiles that are ground and pulverized into a powder. Common blends available in food stores typically include other ground herbs and spices such as cumin, garlic, oregano, paprika, and salt, mixed into the chili powder. Pure chili powder or ground chile is most often available from specialty spice stores and does not contain added ingredients. It consists only of ground or powdered chiles. Chili powder adds flavor and heat to ethnic dishes. When a recipe includes "chili powder" it is the common powder that is being suggested, unless it states that a specific type of chili powder, such as jalapeno chili powder or if it states ground chile. To make your own chili powder, roast a mixture of stemmed, dried chiles (i.e. habanero, jalapeno, etc.) in a 250º oven for 20 minutes. Allow to cool. Place chiles in a blender or food processor. Process the mixture until it becomes a powder (do not breath in the fumes). The homemade chile powder can be frozen for up to 6 months in an airtight freezer bag. |
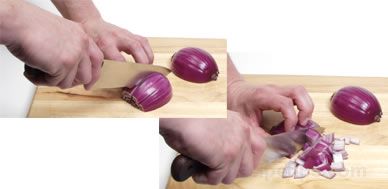
Chopping OnionsThe process of chopping onions can be accomplished manually with a knife or the onions can be placed into an electric blender or food processor and chopped very quickly. Begin by (1) removing the outer layer of skin, (2) cut onion in half, (3) slice each of the onions lengthwise every 1/8" of an inch, (4) slice again in the opposite direction.
|
Garlic
|
|
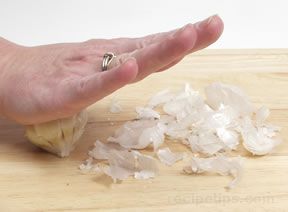
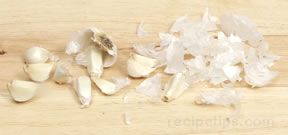
Preparing Garlic Breaking the Bulb Begin by removing the outer layer of the garlic. With stem pointed into work surface and bulb at a slight angle, press down and away with the heal of your hand. This will break the garlic bulb into "cloves." |
  |
|
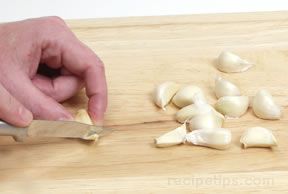
Peeling the Clove First trim off the root end. Twist the clove between your fingers to loosen the skin. Once the skin has loosened, remove it. |
 |
|
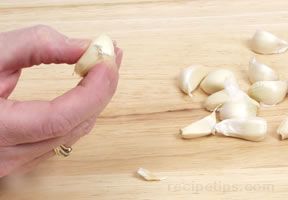
Loosening the Skin If the garlic is fresh, loosening the skin tends to be harder. The clove can now be cooked whole, or it can be sliced, chopped, minced, or smashed. |
 |
|
Intensity of Flavor |
|
The flavor intensity of fresh garlic depends upon how the garlic is prepared. | ||
| Mild Flavor | Whole Clove | 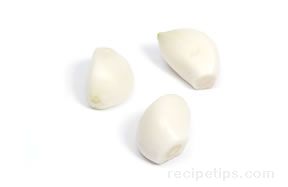 |
| Mild Flavor | Sliced Clove | 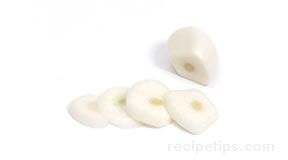 |
|
Medium Flavor |
Chopped Clove | 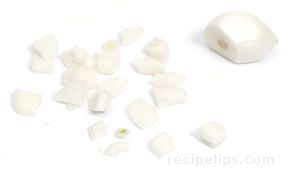 |
| Full Flavor | Minced Clove | 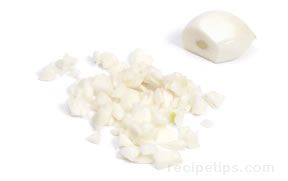 |
| Intense Flavor | Smashed Clove | 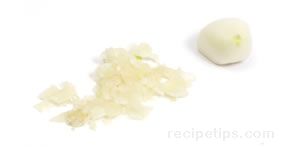 |
Storing Leftover Ingredients
|

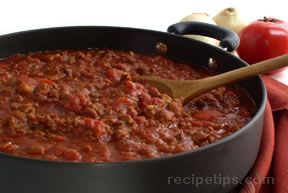


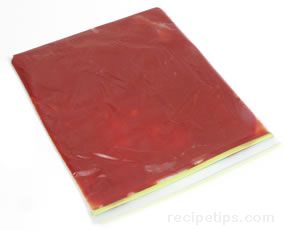 Leftover Tomato Sauce or Paste
