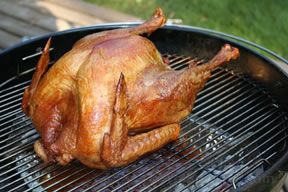
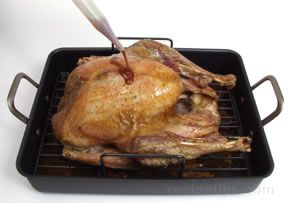
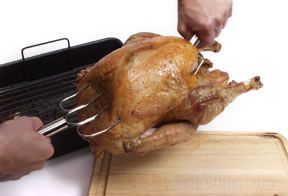
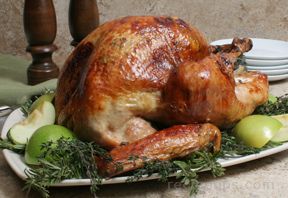
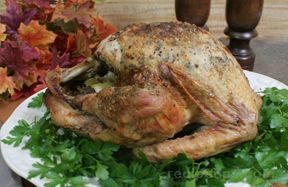
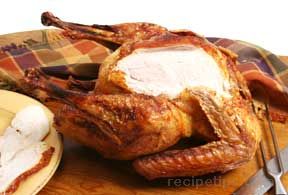
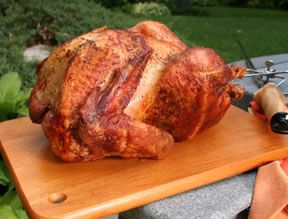
Cooking and carving a turkey can seem like a challenge but if you follow some basic guidelines it can be accomplished successfully. If you are cooking a turkey that is whole, there are several methods that can be used. The turkey can be roasted, grilled, or deep fried. For detailed information on cooking a turkey, see the Turkey Cooking Guide. If cooking a turkey whole, you will need to know how to carve a turkey. Carving a turkey can be accomplished by following the step by step instructions below.
| A roasted turkey should not be carved immediately after removing it from the oven; rather, it should be allowed to rest for 10 to 20 minutes to allow the juices to settle and become redistributed throughout all areas of the turkey. The resting period allows the meat to be as tender and flavorful as possible and it also makes carving much easier. The turkey should be tented with aluminum foil during the resting period to retain the heat. | 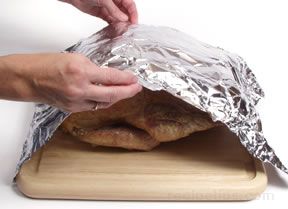 |
|
The resting time will vary depending on the size of the turkey. Make sure that cutting surfaces are cleaned thoroughly, and always use a sharp knife to ensure success when carving. The following steps can be used for proper carving of a whole turkey. | |
| Begin the carving process by removing the legs. Slice down between one of the legs and the body. The leg should move easily and the joint connecting the leg to the body may even snap free without cutting, but if it does not, cut through the joint to release the leg from the body. Repeat this procedure for the other leg. | 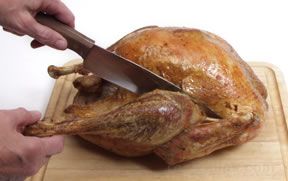 |
| The upper portion of the leg (thigh) can be separated from the lower portion of the leg (drumstick), by cutting through the joint connecting the two portions. | 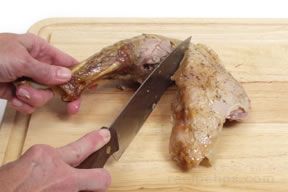 |
| Both the thigh and the drumstick can be left as is or they can be carved further. Holding the thigh with a meat fork, carve even slices that are parallel to the bone. | 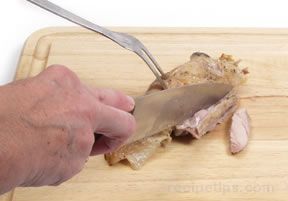 |
| The drumstick can be held on end and slices can be carved up to the bone. | 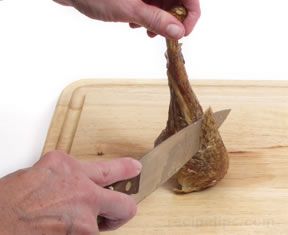 |
| The wing can be removed by pulling it away from the body and cutting into the hollow area between the wing and the breast. When the wing joint (shoulder joint) has been exposed, cut through it while continuing to pull on the wing in order to release it from the body. Repeat this step for the other wing. | 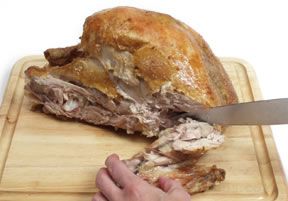 |
| The portion of the wing nearest to the body, known as the drummette, can be cut at the elbow joint. The flat middle section beyond the elbow may be used as one piece. | 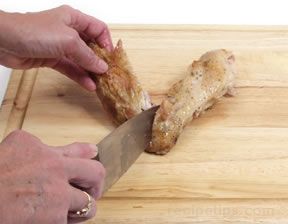 |
| The first step in removing the breast meat is to make a horizontal cut from near the location of the wing toward the ribs. Cut horizontally as far as possible. |
|
| Make vertical cuts through the breast meat to the position of the horizontal cut that was made previously. All of the slices will detach at the horizontal cut, allowing for evenly sized slices. | 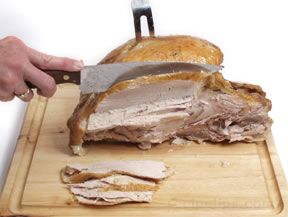 |
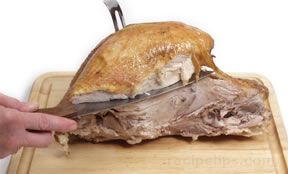
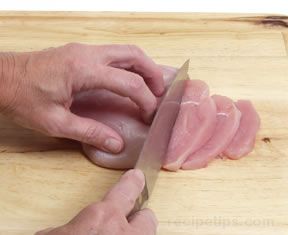
| Rather than cutting the slices of breast meat individually from the body, the two breast halves may be removed whole and then cut into slices. Place the breast halves on a cutting board to carve even slices across the grain of the meat. | 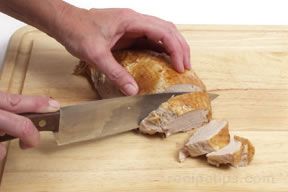 |


