|
Making Apple Butter | Canning the Apple Butter
There are many methods that can be used to make apple butter. The instructions below are for making it in a slow cooker. Using a slow cooker is an easy method and generally prevents the apple butter from burning.
Making Apple Butter
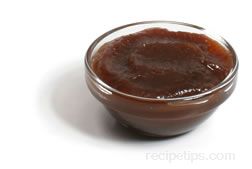
| Apple Butter |
Ingredients: |
 |
- 5 quarts applesauce
- 2 cups sugar
- 1 tbsp cinnamon
|
|
- 1/2 tsp. ground cloves
- 1/4 tsp. allspice
|
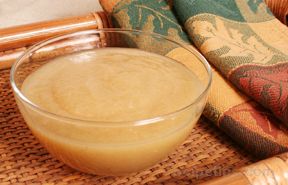
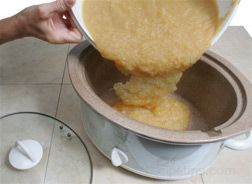
- Pour the applesauce into the slow cooker, leaving at least 1 inch of headspace.
|
|
 |
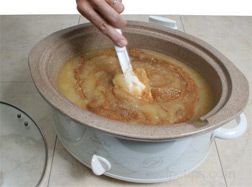
- Add the sugar and spices to the applesauce.
- Note: If the applesauce is already fairly sweet, you may want to cut back on the amount of sugar you add. Add the sugar according to your taste.
|
|
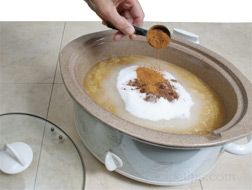 |
- Stir the sugar and spices into the applesauce until they are evenly distributed.
|
|
 |

 |
|
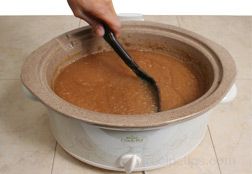
- Place the cover on the slow cooker so it is slightly ajar. This will allow the steam to escape so the apple butter will thicken. Turn the slow cooker on high.
|
 |
|
- After an hour stir the apple butter, replace the cover slightly ajar, and turn the heat down to low for the remainder of the cooking time.
- To speed up the cooking process, you can leave the slow cooker on high but if the apple butter begins to burn around the edges, turn it back down to low.
|
- The apple butter will need to cook for at least 6 to 10 hours. Test for doneness after 6 hours.
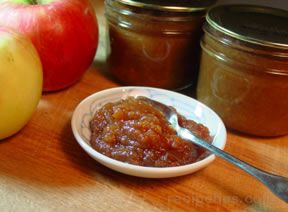
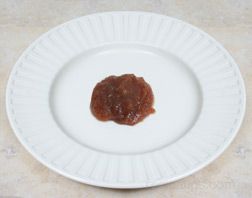
- To test for doneness, mound a spoonful of apple butter on a small plate. The apple butter should stay mounded and there should not be any accumulations of liquid around the edges of the mound.
|
|
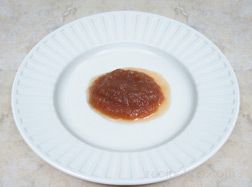 |
- Cooking time of the apple butter will depend on the liquid content of the applesauce. If it is not done continue to cook and test again.
|
|
 |
- When the apple butter is done, it can be placed in an airtight container and stored in the refrigerator for a couple of weeks or frozen for extended storage.
- The apple butter can also be canned, which would allow you to store it at room temperature for 18 months or longer.
|
|
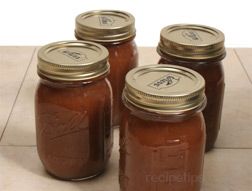 |
See the instructions below on how to can the apple butter. |
Canning Apple Butter
Jar and Lid Preparation | Canning Apple Butter
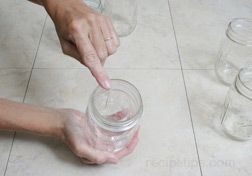
Working with clean and sterile equipment is important when canning apple butter. If the apple butter is going to be processed in a boiling-water-bath for 10 minutes or longer, the jars do not have to be sterilized before filling and processing. If the food will be processed for less than 10 minutes in a boiling-water-bath canner, the jars must be sterilized before filling them with the apple butter. If you question whether you need to sterilize the jars or not, it is always best to go ahead and sterilize them. The lids must be simmered before using. Shown below are methods for preparing the jars and lids to ensure safe usage.
Jar and Lid Preparation

|
Canning Lid Preparation
Check lids and rings to be sure they are of good quality. The lids should not be bent and the sealing compound should not have any defects in it.
Wash the lids and rings in hot soapy water and rinse well. Wipe rings dry and set aside. |
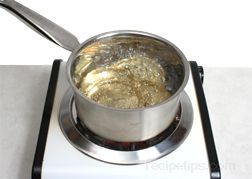
- Place the lids in a saucepan and cover with water. Bring water to a simmer (180°F) over medium-high heat.
|
|
 |
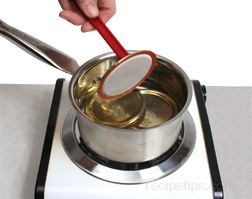
- Once lids have come to a simmer, turn heat off but leave saucepan with lids on the burner and allow lids to remain in the hot water until ready to use.
|
|
 |
Canning Apple Butter

 |
|
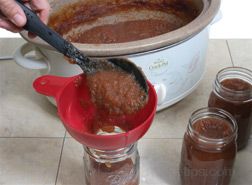
- Fill the warm sterilized jars with the hot apple butter. Leave 1/2 inch headspace.
|
 |
|
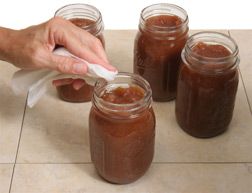
- After the jars are properly filled, wipe the top rim and the screw threads on the neck of the jars with a damp cloth or paper towel to remove anything that may have gotten on them while filling the jars. Any liquid or food left on them may prevent the jar from sealing properly.
|
 |
|
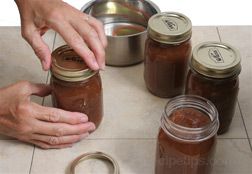
- Place the prepared lid squarely on the rim and hold in place while placing the screw ring on the jar. Tighten the screw ring securely but do not over tighten.
|
 |
|
- Once all of the jars are filled and sealed, place them in the canner at the same time so they are all processed evenly.
|
|
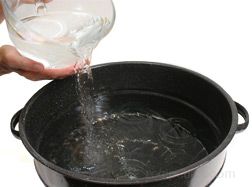
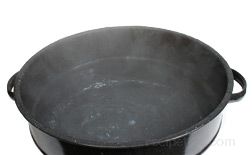
- Fill the boiling-water-bath canner half full of clean water. Heat water to 180°F. This heating process could be done while packing the jars.
|
|
 |
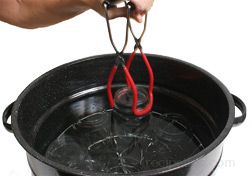
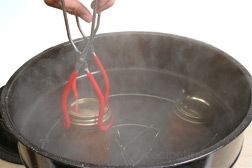
- Place the empty rack into the heated water and then using the jar lifter, carefully lift the filled apple butter jars and place them in the rack. Be sure that the jar lifter is secure around the neck of the jar, just below the screw ring.
|
|
 |
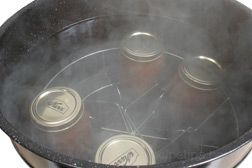
- Check the water level after the jars are all placed in the canner. It should be at least one inch over the top of the jars. If level is not high enough, add boiling water to increase it to the proper level.
|
|

|
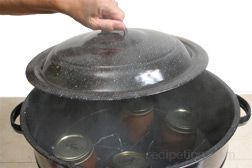
- Using high heat, bring the water to a full boil. After the water has come to a rapid boil, place the cover on the canner and reduce the heat enough to keep the water at a gentle continuous boil. Set timer 10 minutes.
|
|
 |
- After boiling for the full processing time, turn off the heat and remove the cover.
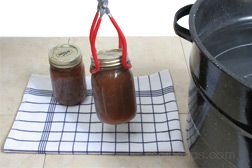
- Have a folded towel ready for placing the jars on when processing is complete. Using the jar lifter, carefully remove the jars from the canner and place them on the towel.
|
|
 |
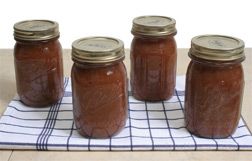
- Leave at least 1 inch between the jars to allow for air circulation while cooling. Do not try to re-tighten the screw band after processing because that may disturb the sealing process that has already started to form.
|
|
 |
|
- Allow jars to cool for 12 to 24 hours before handling. Check the jars for a proper seal. Remove rings and wipe down the jar after they have cooled.
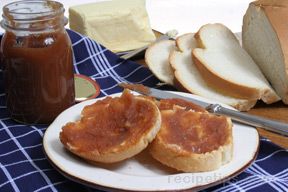
- The apple butter is now ready to enjoy. Spread on toast, English muffins, bagels, pancakes, or waffles.
|
|
 | |
