|
Grilling Beer Can Chicken | Roasting Beer Can Chicken | Beer Can Chicken Tips
Beer can chicken is a great way to prepare a whole chicken. Although the beer can chicken can be cooked in the oven, it is especially flavorful when done out on a grill where it takes on that smoky grilled flavor. Making a beer can chicken is a very easy process, which can be done with the use of simple seasoning or it can be dressed up with special rubs, marinades, or glazes. There are many recipes that can be used or you can make up your own by simply using your favorite seasonings.
Grilling Beer Can Chicken
Beer Can Chicken Preparation | Grilling the Beer Can Chicken
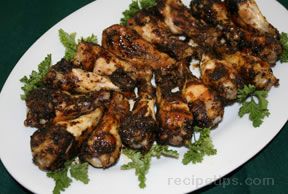
The preparation and grilling instructions below are for preparing a basic beer can chicken. Grilling the chicken over the beer can produces a very moist meat that is imparted with a delicate beer flavor along with the smoky grilled taste that you would expect when grilling any type of meat. Remember that this method of preparing beer can chicken will provide you with a naturally grilled chicken flavor but there are an endless number of variations that can be used to produce various flavors. Don't be afraid to experiment with some of your favorite seasonings.
Beer Can Chicken Preparation
| Beer Can Chicken |
Ingredients: |
|
Barbecue Rub: |
 |
- 1 chicken - approx. 4 lbs.
- 3 tbsp. of barbecue rub (see recipe at right)
- 1 tbsp. vegetable oil
- 1 12 oz. can beer
|
|
- 1/4 cup kosher salt
- 1/4 cup brown sugar
- 1/4 cup paprika
- 2 tbsp. pepper
Mix and store to use on any grilled chicken. |
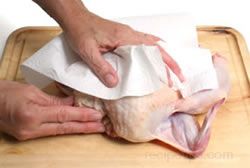
- Clean the chicken properly. See Chicken Preparation - Cleaning Chicken for information on how to properly clean the chicken before beginning other preparation. Be sure to pat the chicken dry with paper towels both inside and out before continuing.
|
|
 |
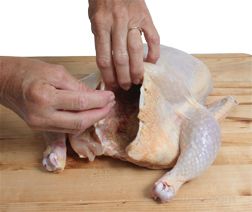
- Sprinkle 1 1/2 teaspoons of the barbecue rub inside the big cavity of the chicken. Distribute the rub as evenly as possible.
- Sprinkle another 1/2 teaspoon of rub in the smaller neck cavity.
|
|
 |
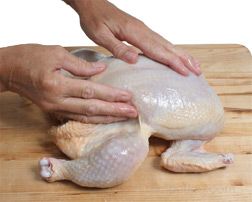
- Pour the vegetable oil over the breast of the chicken; using your hands rub the oil all over the chicken until the entire outside has been coated with oil.
|
|
 |
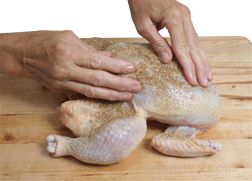
- Now sprinkle the outside evenly with 1 1/2 tablespoons of the barbecue rub. Use your hands again to rub down the entire chicken so that it is evenly coated with rub.
|
|
 |
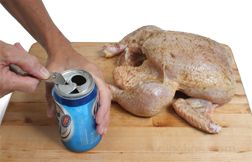
- Prepare the beer can by opening and then removing approximately 1/2 cup of beer. Poke several more holes in the top of the can with a church key type can opener. Additional hole are required because the pull tab opening in the can is not enough to allow the proper amount of steam to be released.
|
|
 |
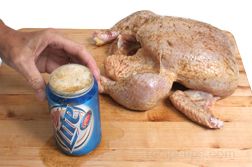
- Add 2 teaspoons of the rub to the beer remaining in the can. Be prepared for some foaming when the rub is added.
|
|
 |
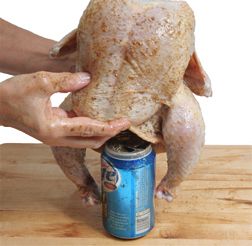
- Using two hands hold the chicken up with the legs at the bottom. Carefully slide the chicken over the can so that it slides into the cavity without tipping the can.
|
|
 |
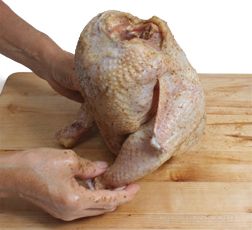
- Holding onto the chicken with one hand, use the other hand to pull the legs forward to support the chicken in the front and allow the can to support it in the back.
- Tuck the chicken's wings back behind it to hold them in place. If wing tips have already been removed, you will not be able to tuck the wings back.
|
|
 |
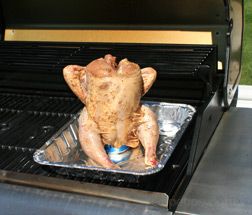
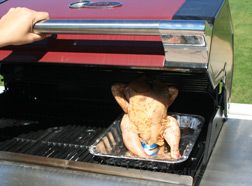
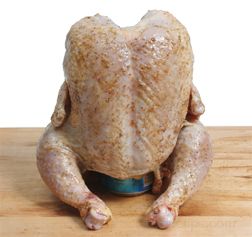
- The chicken should be able to support it self and stand on its own. It is now ready to place on the grill or in the oven.
|
|
 |
Grilling the Beer Can Chicken
Roasting Beer Can Chicken
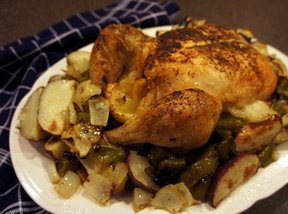
The beer can chicken is prepared in the same manner when roasting in the oven as it is when cooked on a grill. See Preparing the Beer Can Chicken above.
 |
|
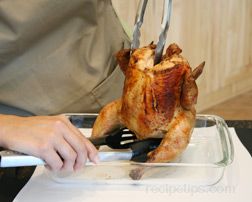
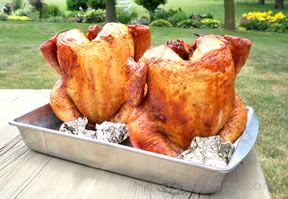
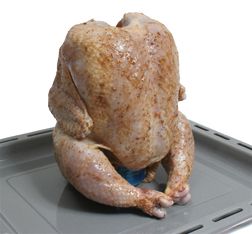
- After preparing, carefully pick up the chicken while holding on to the can and set the chicken and beer can upright in a roasting pan.
- Place the beer can chicken in an oven preheated to 350°F.
|
 |
|
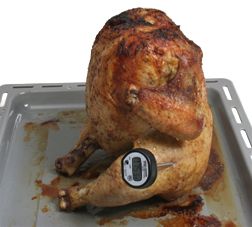
- Allow the chicken to cook for 1 to 1 1/2 hours or until the meat is properly cooked. Check the temperature of the chicken with an instant read thermometer inserted in the thickest part of the thigh. The thermometer should registers 170° F. when the chicken is properly done.
|
 |
|
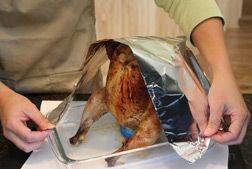
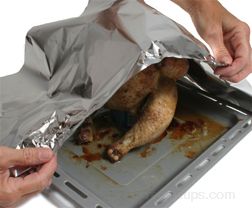
- Allow the chicken to stand for 15 to 20 minutes before carving. During this time the temperature of the chicken should rise at least 5° F and will then be at a safe temperature of between 175° F to 180° F.
|
 |
|
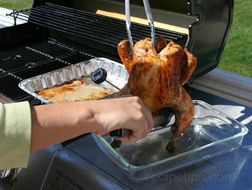
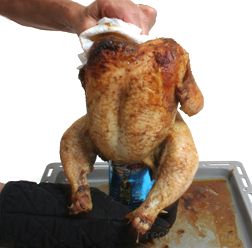
- After allowing the chicken to stand for 15 to 20 minutes remove it from the beer can. Hold on firmly to the top using a potholder or layers of paper towels to protect against burning; use a potholder or mitt on your other hand and get a firm hold on the beer can; and then twist and pull the can out of cavity of the chicken. Remember to be very careful when removing the can because not only is the chicken hot but the beer is extremely hot and there may be some steam that may escape when removing it.
|
 |
|
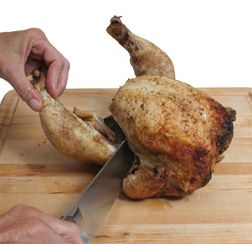
- Place the chicken on a cutting board or another surface suitable for cutting on and carve the chicken as you normally would. For more information on how to carve a chicken, see Carving Rotisserie Chicken.
|
Beer Can Chicken Tips
- For a different flavor, try using soft drinks, fruit juices or wine in place of the beer.
- Create a more concentrated flavor from your rub by allowing the chicken to set for 4 hours or overnight with the rub on it. Be sure to cover and refrigerate it while it sits.
- Use your favorite marinade on the chicken before grilling.
- Don't have a grill? The beer can chicken can be roasted in the oven rather than on a grill if you don't have one available. It will be still be moist and delicious but it won't have the great grilled flavor.
- To increase the flavor of the beer, add it as an ingredient in a marinade or if you are going to barbecue the beer can chicken, add some beer to the sauce.
- Because of the steam created when using the beer can method to cook the chicken, you generally do not need to baste the chicken as it cooks. Although basting is not necessary to keep the chicken moist, you can add special flavoring by basting if desired. Be careful if basting so that you do not knock the chicken over when applying it.
|


