|
See More Information on Making Homemade Ice Cream:
How to Make Homemade Ice Cream | Types of Homemade Ice Cream
Homemade Ice Cream Freezing Methods | Safety & Storage of Homemade Ice Cream
Vanilla Custard | Strawberry | Cookies 'N' Cream
How to Prevent Too Hard Ice Cream
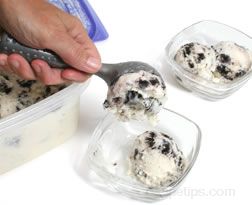
When ice cream is eaten freshly made, there is not a problem with it becoming too hard. Homemade ice cream is best eaten after its initially hardening time because the consistency will be best for scooping and the flavor is always best when it is fresh. If it cannot be eaten after a couple of hours of hardening, it can remain in the freezer and eaten later but it may have a tendency to harden more than desired. Shown below are some tips and advice that may help prevent the ice cream from getting too hard.
- Be sure that the ice cream mixture has been chilled and aged properly before beginning the freezing process. If the mixture is not cool enough it can cause larger ice crystals to form during the freezing process.
- Using too much sugar can cause the ice cream to become too hard also, but be sure to follow the recipe carefully because too little sugar can cause it to be too soft.
- If the ice cream is not churned fast enough, larger ice crystals can develop, causing the ice cream to become too hard when frozen. The faster it is churned the more air that is whipped into it, which will help it from freezing as hard.
- If you are trying to make a little lighter version of ice cream and use milk in the recipe instead of cream or half & half, there may not be enough fat in the ice cream mixture. Fat does not freeze so it helps give the ice cream a smoother texture. Try increasing the amount of fat by using cream or half & half instead of just milk.
- To help prevent the ice cream from freezing too solid, a little alcohol can be added to the mixture because alcohol does not freeze. This will help keep it from freezing so solid. Add 1 or 2 tablespoons of vodka to the mixture just before starting the churning and freezing process. Vodka is a good choice of alcohol because it is clear and has no taste so it will not affect the appearance or take away from the taste of the ice cream.
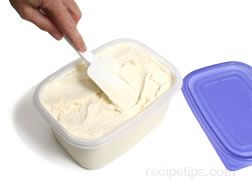
If you will be storing the homemade ice in the freezer for a while before serving, keep the information above in mind when making your next batch of homemade ice cream. If the ice cream does freeze too hard for scooping, allow it to sit out on the counter for 10 minutes before trying to serve it.
Homemade Ice Cream Tips
The tips on making homemade ice cream below are helpful reminders of some important facts that should be kept in mind when making homemade ice cream.
- To lower the fat content of the ice cream, substitute low-fat milk for whole milk, whole milk for half & half, and evaporated skim milk for whipping cream. Using lower fat content ingredients will affect the texture of the ice cream. Higher fat content ingredients produce a richer, creamier and smoother ice cream.
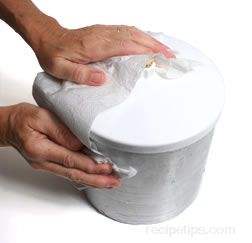
- Be sure to place the ice cream cans in the freezer for at least 2 to 3 hours. It is best if the cans that contain the cooling liquid are left overnight to assure that all the liquid is frozen.
- Be sure the ice cream mixture has been chilled in the refrigerator before beginning the freezing process.
- Help reduce the formation of ice crystals by scalding the milk before mixing with other ingredients and by aging the ice cream mixture for a sufficient amount of time.
- If the ice cream, being made with the process that requires ice and salt, is taking a long time to thicken during the freezing process, add more salt to the ice. This will help reduce the temperature of the brine. If the ice cream thickens to fast, too much salt has been used. This will cause the ice cream to have a coarse texture. See more information on the proper ratio of ice and salt.
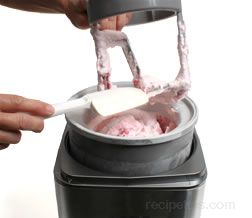
- Flavorings: Add solid ingredients, such as cookie pieces, nuts, candy or fruit, after the freezing process, before placing in the freezer to harden. Add any liquid flavorings before the freezing process is started.
|


