|
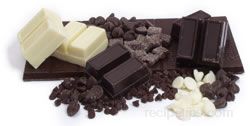
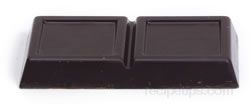
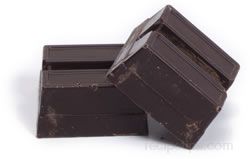
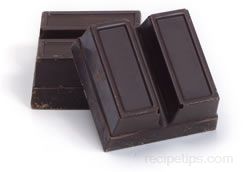
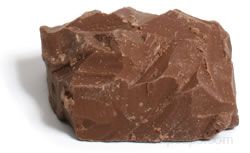
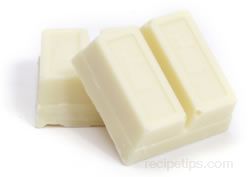
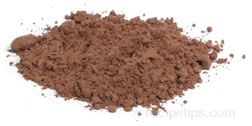
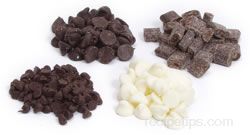
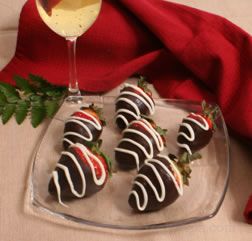
Chocolate has many uses and comes in many different forms and types. Chocolate could be a powder or in a solid bar. It could be bitter or it could be sweet. Chocolate is used in many different types of recipes. It can also be used for decorating. Melting chocolate can sometimes be a challenge but with the information provided, you will learn how to prevent the problems associated with melting chocolate. You will also learn how the different types of chocolates should be used in different chocolate recipes. With all its flavors, forms, and uses, it is no wonder it is so popular. Chocolate seems to be a favorite in some form for most every special occasion imaginable, from Valentine's Day to a special birthday it always is a gift that someone will love.
| ||||||||||||||||||||||||||||||||||||||||||||||||||||||
|
Double Boiler Method A double boiler can easily be used to melt chocolate. See the steps below.
Note: It is important that you do not put a lid on the top portion if the double boiler because this can cause condensation that can drip down into the melting chocolate. Any amount of water, even the slightest drop that comes into contact with the melting chocolate can cause seizing. Seizing is when the cocoa butter separates from the solids and becomes lumpy. If this happens you may be able to salvage the chocolate by adding a small amount of vegetable oil and whisking it to regain the smoothness of melted chocolate. | ||
|
In a Saucepan on Top of the Stove
| ||
|
Warm water
| ||
|
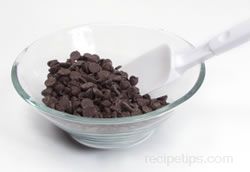
Microwave Method Using a microwave to melt chocolate should be done only when melting a small amount. Choose a microwave safe bowl and place the chopped chocolate or chocolate chips into the bowl. |
 | |
|
Microwave on the medium setting and melt chips in short time increments until almost melted. |
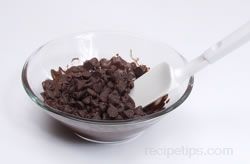 | |
| When most of the chips have softened, stir the chocolate with a rubber spatula to disperse the heat until the remainder has melted. | 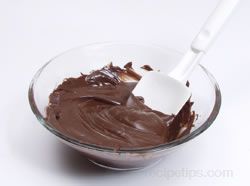 | |
Chocolate melts best at 104º to 113ºF (40º to 45ºC). If you have the temperature beyond this point, the chocolate will burn or separate. If it does burn the only thing you can do is throw it out and begin again. | ||
Tempering
Tempering is a procedure where you use heating and cooling to stabilize the chocolate. Chocolate that you buy from the store is already tempered, but when melted, all of that changes. The molecules of fat separate and in order to put them back, you must temper it. Tempering determines the final smoothness and shine that a chocolate will have. This procedure is only needed when working with candy, molds or extensive decorations. Most recipes do not call for tempering.
Decorating with Chocolate
There are many decorations you can make with chocolate to garnish your favorite pastries and desserts. Some decorating techniques are shown below.
|
Chocolate Curls To make chocolate curls you will need a large block of chocolate and either a chef's knife, potato peeler or paring knife. The chocolate needs to be at room temperature for best results. If you do not have a block of chocolate, you can create one by melting squares, pouring it in a plastic wrap lined loaf pan, and allowing it to harden by chilling in the refrigerator. Once it has hardened, remove it from the refrigerator and pull it up and out of the pan by pulling on the plastic wrap. Before using, allow it to set out so that it becomes room temperature. | |
|
To create smaller curls, use a paring knife or potato peeler. Hold the block of chocolate in one hand and use the peeler or knife in the other hand. Pull the blade upward along the edge, applying pressure as you move up the edge. The chocolate will curl in front of the blade, creating the chocolate curl. Note: To make larger curls, use a chef's knife to create the curls. Hold the knife on top of the blade, not on the handle, and pull it toward you in a downward motion. The chocolate will curl up in front of the blade as you go. |
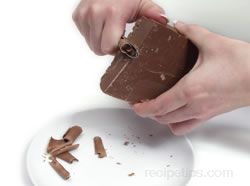 |
| Remember that the more pressure that you apply, the thicker the curls will be. Refrigerate the curls until you are ready to use them on your favorite pastry or dessert. | |
|
Grated Chocolate
Chocolate can be grated into shavings for "dusting" for tops of cakes, cupcakes, etc. In order to achieve this look, you will need a block of your favorite chocolate and a grater. | |
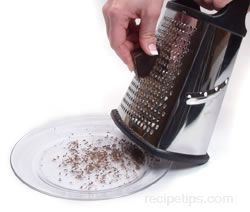 |
Hold the grater in one hand over a piece of parchment paper or waxed paper and the chocolate in the other. Slide the chocolate across the grates in and up and down motion similar to grating cheese, allowing the shavings to land on the paper. Decorate with the shavings immediately because the fine chocolate will melt quickly and loose the desired effect. |
|
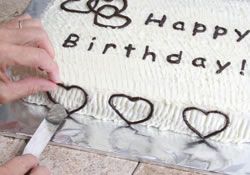
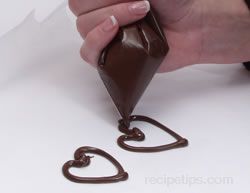
Chocolate Shapes Use the instructions on how to melt chocolate from above to begin this process. Once the chocolate is melted, spoon it into a pastry bag or piping bag. You can also use a plastic bag with the corner tip cut off. Once filled, pipe the chocolate out onto waxed paper in whatever shape you desire. You can create hearts, initials, geometric shapes, etc. |
 |
|
Place your decorations in the refrigerator until set and then peel them off the paper and apply them to your pastry or dessert. |
 |
Chocolate Storage
Chocolate is vulnerable to its surroundings. It absorbs odors and moisture which have a negative effect on the chocolate. Storing chocolate in a cool, dry, dark place is best. Try not to store chocolate in the refrigerator because it has a tendency to "sweat". This surface moisture can cause sugar bloom. Sugar bloom occurs when the surface moisture starts dissolving the chocolate. When the moisture evaporates it leaves behind the sugar crystals, which gives the chocolate a grayish color.
The same theory is true when the chocolate is exposed to sudden temperature changes. The cocoa butter separates from the rest of the chocolate causing a graying color on the outside of the chocolate. Although neither one is attractive, the bloom does not harm the chocolate and it is still edible.

