Food Processor | Heavy-Duty Mixer
Mixing and Kneading with a Food Processor
|
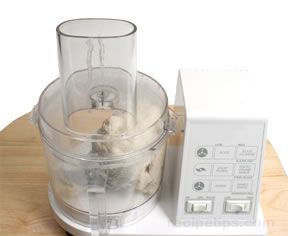
A food processor can be used for mixing ingredients and kneading the dough for yeast breads. It combines the ingredients quickly and easily, but is limited as to the quantity of dough that can be produced at one time. Most food processors cannot accommodate the total quantity of dough required for some bread recipes, but the dough can be made in two or more batches and then combined. Be sure the food processor is fitted with a blade that is specifically designated for dough preparation. Always follow the manufacturer's instructions for the proper use of the food processor. | |
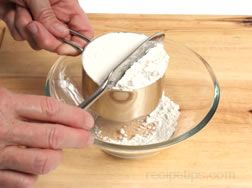
| Add the flour and other dry ingredients to the container and pulse the machine a few times to blend the ingredients. | 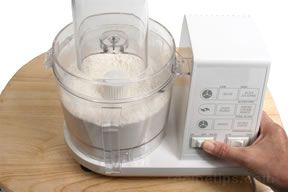 |
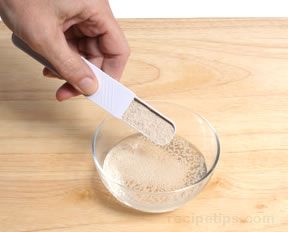
| Add the liquid in which the yeast has been activating and pulse the machine several more times. | 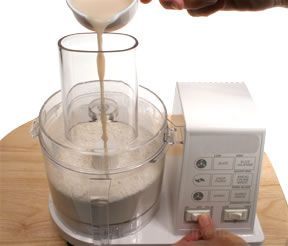 |
| With the machine running, add the remaining liquid ingredients through the feeding tube on the top of the machine's cover. It is often best if the remaining liquid is cold because the food processor tends to heat the dough. Do not allow the food processor to run continuously for more than a half minute. |
|
| Continue to process the ingredients until the dough forms a ball and begins to ride up in the center above the blades. If the dough is too dry, add water a teaspoon at a time. If the dough is too sticky, add a teaspoon of flour at a time. Continue to add more water or flour until the dough is the correct consistency. The entire process requires only a minute or two. |
|
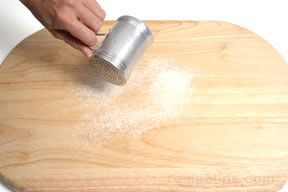
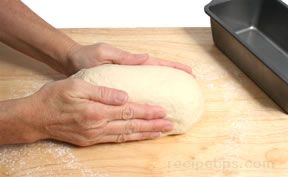
| Although the food processor does an excellent job mixing the ingredients, it is often best to turn the dough out onto a floured surface and knead the dough by hand for 2 or 3 minutes. | 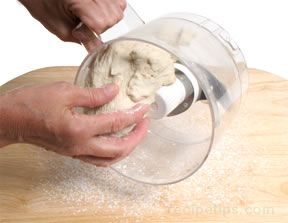 |
| Note: It is usually of no benefit to use a food processor to mix the ingredients for most quick breads. It may be difficult to control the degree in which the ingredients are mixed and over-mixing the ingredients results in a loaf that is heavy and tough. Many quick bread recipes call for the ingredients to be folded together, quickly and gently, until just mixed in order to produce the best results. |
Mixing and Kneading with a Heavy-Duty Electric Mixer
|
A heavy-duty electric mixer can be used to combine the ingredients and knead the bread dough. Always follow the manufacturer's instructions for proper use of the electric mixer to achieve the best results. | |
| Combine the dry ingredients in the mixing bowl and then add the activated yeast and water mixture. |
|
| Set the machine to a slow setting to begin mixing the ingredients using the paddle attachment. | 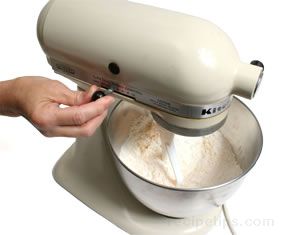 |
| Add the remaining liquid ingredients called for in the recipe. | 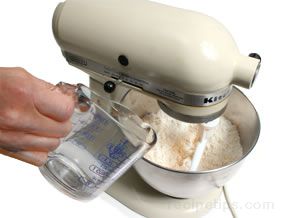 |
| When the ingredients are blended, stop the machine, remove the mixing paddle, and install the dough hook. | 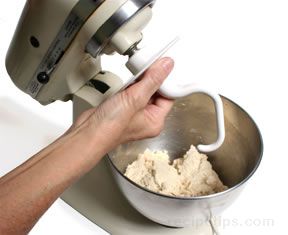 |
| Raise the speed of the mixer to medium. Continue mixing until the dough pulls away from the sides of the bowl. | 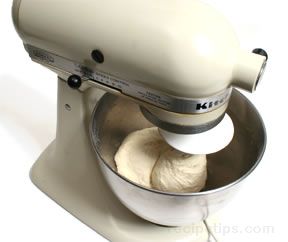 |
| If the dough is too dry, add water a teaspoon at a time. If the dough is too sticky, add a teaspoon of flour at a time. | 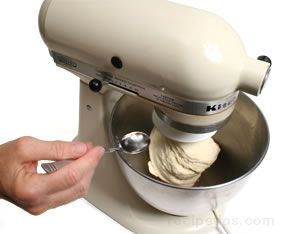 |
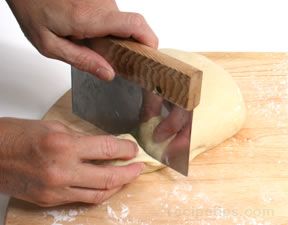
| Continue to add more water or flour until the dough is the correct consistency. The entire mixing and kneading process requires only 6 to 8 minutes for many basic bread recipes, but make sure to follow the instructions on the recipe. Use a spatula or a dough scraper to remove the dough from the dough hook. | 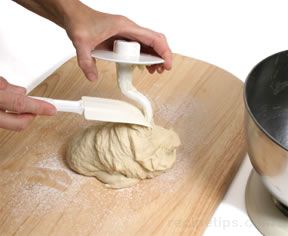 |
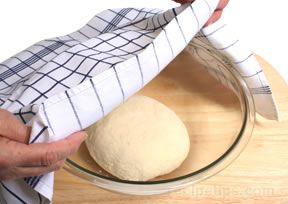
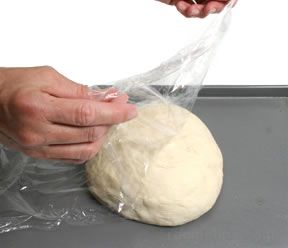
| When using a heavy-duty mixer, the bread dough does not require any hand kneading on a flat surface. Simply form the dough into a ball shape before placing it in a covered bowl to rise. |  |
| Note: When making bread with an electric mixer, make sure to use a heavy-duty mixer that comes with a dough hook attachment. Standard kitchen mixers equipped with whisk and/or paddle attachments only, are not designed for preparing heavy bread dough. |


