How To Carve A Pumpkin Video

RecipeTips

Transcript:
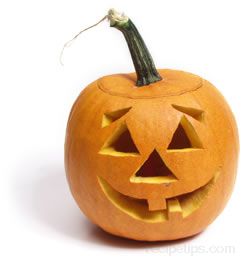
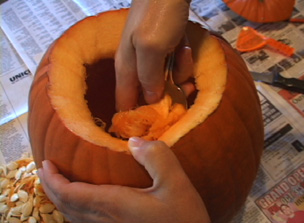
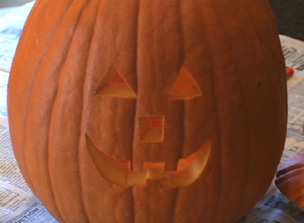
Today I am going to demonstrate how to carve a pumpkin. Once you have selected the type of pumpkin you want to work with, go ahead and use a crayon and draw a circle around the top of it. This is going to indicate where you are going to want to cut in order to get the lid from your pumpkin. A really great tip is to cut a notch out of one section of the lid, and that way, it will tell you exactly how the lid should fit on the pumpkin. The next step is to design the face of your pumpkin, and the more traditional way to do this is to use a dark-colored crayon, and just draw out the face that you would like to see on your pumpkin. A more fun way is to download different templates that are available on RecipeTips.com. You line it on the pumpkin exactly how you would like it, and begin taping the corners down to hold it into position. Once you have your template taped into place, you can use a drill that is available in most jack-o-lantern kits, or you can use a toothpick or anything that has a pointed tip on it, and what you want to do is poke into the pumpkin by following the outside edge of all the black areas. And, you will want to skip about every eighth of an inch. This is going to give you an outline of where you need to cut with the knife. And, continue around all the sections until you have completed the template. Once you have poked holes all the way around the template, go ahead and remove the template from the pumpkin. That is going to leave you with an outline of the template. Now, sometimes these holes are kind of hard to see, so a really good tip is to get a little bit of flour on your fingers and just rub it onto the pumpkin, and that way, the holes will stand out a little bit better. The next step is to take a carving saw, or you can use a small utility knife as well, and begin by inserting it into the lines from your template, and saw, following the lines. These carving saws work really well for this, and they are also available in kits. Once you have finished cutting out around the lines, you need to remove the sections. An easy way to do this is to just remove the lid, and from the inside out, push on the sections until they come out. For more great pumpkin carving patterns, visit RecipeTips.com.


