How To Crimp A Pie Crust Video

RecipeTips

Transcript:
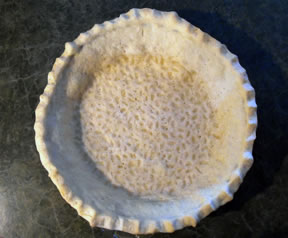
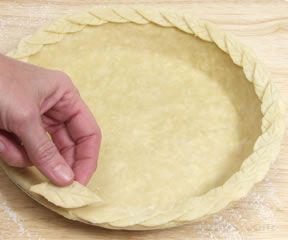
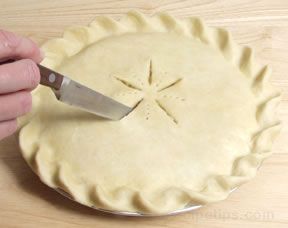
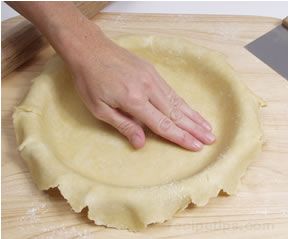
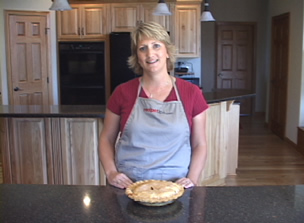
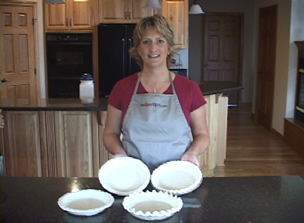
Today, I am going to show you different ways to crimp a pie crust. This is a double pie crust, and we have already folded over the top crust underneath the bottom and lined it up with the edge of the pie plate. The next step is to pick that crust up, just a little bit, so it is standing up; place your thumb and forefinger underneath the bottom of the crust; and with your thumb on the top, press it together to crimp. And, you are going to want to go around the pie about every inch. The next one I am going to show you is a fluted pinched edge on a single pie crust. Start by placing your pie crust into your pie plate, and trim the excess crust to a quarter inch within the pie plates edge. Begin by tucking under the excess crust to make it even with the pie plate edge, and pinch it and stand it up straight as you go. To create the fluted pinched edge, place your thumb and index finger on the outside edge of the pie crust, and with your other hand, use your index finger to push the two together. Work your way all the way around the pie crust at a half-inch interval. And, your end product is a nice fluted edge. The next edge I am going to show you is the pressed rope edge. Begin by placing your pie crust into your pie plate, but this time, trim the edge to one inch within the pie plate edge. And, as we did before, tuck the excess pie crust under to the edge of the pie plate, and press and stand it up as you go. To create this rope effect, you are going to want to use your left hand and use your thumb and forefinger together, and pinch them in this manner. Place your thumb and forefinger on the crust at an angle and just pinch, but the key is to get your thumb into the impression that your index finger made. Once you have worked all the way around the pie crust, you get a nice roped edge. The next edge I am going to demonstrate is the imprinted scalloped edge. Begin by placing your pie crust into your pie plate, and this time, trim it to just within an eighth of an inch from the pie plate edge. This is going to allow for the dough to shrink up as it bakes. To create the imprinted scalloped edge, you are going to need a spoon, and invert it onto the edge of the pie plate the depth of the pie plate edge, and press down into the pie crust, making sure you do not go all the way through the pie crust into the pie plate; then you line it up with the imprint - matches up, and move all the way around the edge. Once that is done, come back to where you began and place the spoon - the halfway the distance that you originally went, and make an imprint into the existing imprints, all the way around. When you are finished, you will have a perfectly imprinted scalloped pie crust. The next pie crust I am going to show you is the forked edge pie crust. Place your pie crust onto your pie plate, pressing it down in the center and then trim to within one-eighth of an inch around the edge of your pie plate. This will allow for any shrinkage that may occur while baking. The first one I am going to show you is the partial imprinted edge. Place the tines of your fork into some flour, and follow the depth of the edge of your pie plate, and just make an imprint with the tines of your fork; then alternate them, every other one, and move all the way around the crust. Now, to create a full imprinted forked edge, go back through and place the tines into the center where you had left space. Continue all the way around the edge. This pie crust shows you the full imprinted edge and the partial imprinted edge. For more information on decorative pie edges, visit RecipeTips.com.


