How To Make An Apple Pie Video

RecipeTips

Transcript:
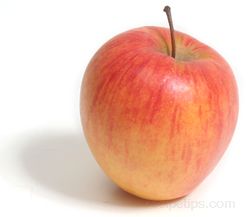
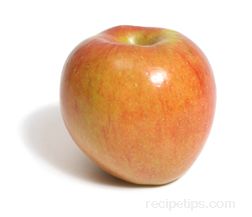
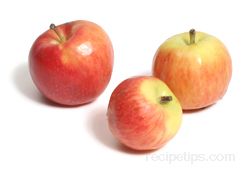
Today, I am going to show you how to prepare a fresh homemade apple pie. To begin with, take a crust - and we are using a prepared store bought crust today; you can use your favorite recipe, whatever works best for you - place it into a pie tin, and press it down along the sides. The next step is to take a knife or a kitchen scissors and cut the edge of the pie crust to a quarter inch around the edge of the pie pan. When you are finished, you are going to want to put this into the refrigerator while we prepare the apples. The next step in preparing your apple pie is to get your apples ready, but before you begin, make sure to have an acidic water bath ready. To make that, add one-quarter cup of lemon juice or apple cider vinegar to one quart of water. Place your apple slices in there, and it will prevent them from turning brown. Start by peeling your apples. I like to use a vegetable peeler to peel the apples, but you can use a knife or whatever works best for you. Once you get all the apples peeled, you are going to want to quarter them, core them, and slice them. We are going to need six cups of apples for this recipe, and you can use whatever apple is readily available to you. There are honeycrisp that work well, haralsons, braeburns; there is a lot of different types of pie apples, but use whatever apple you like. Cut your quarters into slices and make sure to add them to your acidic water bath to keep them from turning brown. The next step is to add two tablespoons of tapioca and two tablespoons of flour to one and a quarter cups of sugar. Sprinkle the pie crust with a little bit of flour on the bottom. This is going to help to keep the pie crust from getting soggy as it bakes. Now you are ready to add your sliced apples to the crust. Go ahead and pour your six cups of apples onto the pie crust. You are going to want this pie crust to be kind of full of apples. Depending on the size of your pie crust, determines how many apples to use. Make sure it is nice and round. If there is too many in there, go ahead and take them out. Then, sprinkle with your sugar mixture. The next step is to dot the apples with two tablespoons of cold butter. Moisten the outside edge of your pie crust. With your finger, just dab a little water all the way along the edges. What this is going to do is it is going to help seal the two crusts together. Have your second crust ready, and really carefully, place it over the top of your apples. It may look like you got a lot of apples in there, but those are going to bake down. And, you are going to want your top crust to hang just a little bit over your bottom crust. If you need to trim it, go right ahead and do so. Next, you want to fold the top crust underneath the bottom crust, and line it up so that both crusts are even with the edge of the pie pan. Do this all the way around the pie. Once you have your crust tucked all the way around the edge of the pie, go ahead and tip up the pie crust so it is almost standing up. After that, place your thumb and forefinger under the pie crust and with the thumb on the top crust, push the two together, and crimp it - the crust, about every inch all the way around the pie. Make sure to cut slits into the top crust of your pie. This will allow the steam to be released as it is baking. Sprinkle the top crust with just a little bit of sugar. This is going to add a nice sparkle and crispness to the crust. Your pie is now ready for the oven. Place it on a foil lined cookie sheet and place it on the bottom rack of a 350 degree preheated oven for 55 to 60 minutes, or until the filling is bubbly and the crust is golden brown. Once you have removed your pie from the oven, allow it to cool for 30 minutes before serving. For more great pie recipes, visit RecipeTips.com.


