Beating Egg Whites | Beating Egg Yolks
Beating Egg Whites
|
Egg whites that are beaten correctly may increase in volume by as much as eight times. After beating, the egg whites should be extremely smooth and firm but not dry, forming stiff peaks. Egg whites can be beaten by hand or with an electric mixer. A bowl constructed of copper is considered the best type of bowl for beating eggs; however, the bowls are quite expensive. The slight acidity of the copper results in a chemical reaction with the egg whites, which helps to stabilize the foam as the whites are beaten. Many professional chefs insist on using copper bowls for beating egg whites. If copper is not available, the next best choice is stainless steel. A pinch of cream of tartar per egg white can be added as a stabilizer, replacing the acidic properties of the copper. | ||
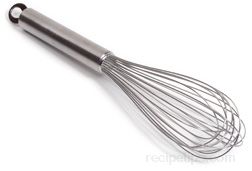 |
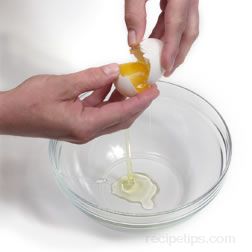
A balloon whip or large wire whisk may be used to beat the egg whites by hand. It is extremely important that the bowl and whisk be very clean and dry and that no trace of oil is present. Egg whites will not increase to the desired volume if contaminated with any trace of oil. This is also true if any yolk is present in the egg whites. Plastic bowls and utensils should never be used because plastic tends to hold some oil even after thorough cleaning. | |
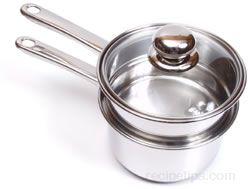
| Whole eggs may be separated into the whites and yolks immediately upon removal from the refrigerator, but the whites should be allowed to reach room temperature before beating, which allows the egg whites to increase in volume more rapidly when beaten. It is important to remember, however, that egg whites should not remain without refrigeration for more than two hours in order to reduce the possibility of harmful bacterial growth. Egg whites may be warmed quickly by placing the bowl of cold whites over warm water bath. A double boiler pan works well for this purpose. Egg whites will not achieve their full volume if the air of the surrounding environment is excessively humid. |
| |
| ||
| To begin the process of beating egg whites by hand, add a pinch of cream of tartar per egg white or about 1/4 teaspoon for every four egg whites. This will help to stabilize the egg whites and prevent the foam from losing its volume after the beating has stopped. Cream of tartar is not required if a copper bowl is used. | 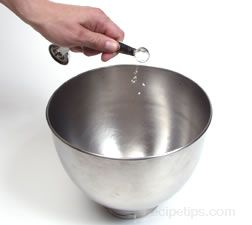 |
| Grasp the balloon whisk firmly and begin whipping the egg whites slowly, using a circular motion at about 2 strokes per second. When the egg whites begin to foam, usually after 30 seconds or so, increase the speed to about 4 strokes per second. The goal is to keep the egg whites in constant motion, whipping as much air into the whites as possible. | 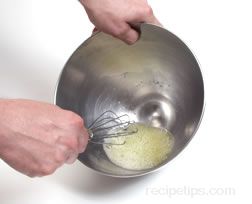 |
| After 2 to 3 minutes of vigorous beating, the egg whites should begin to increase in volume. | 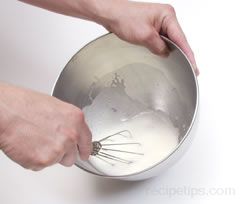 |
| When an additional 2 minutes or so has elapsed, the egg whites should reach the maximum volume possible. | 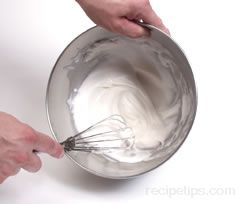 |
| You can test beaten egg whites for the desired volume regardless if the whites are beaten manually or beaten with a machine. Pull some of the beaten whites from the bowl on the end of a whisk or spoon to determine whether the egg whites form peaks. You should be able to hold the whisk or spoon upside down without the egg whites falling off. If the egg whites drop off the whisk or spoon, continue beating; however, don't over beat the egg whites because too much beating will cause the whites to break down and become watery, in which case, the egg whites will not blend properly with other ingredients in the recipe. | 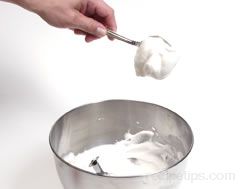 |
|
| A hand held electric mixer works quite well for beating egg whites, because it allows you the freedom of moving the spinning beaters all around the interior of the bowl, keeping the egg whites in constant motion. A stationary mixer, which has a beater that not only spins but also rotates within the circumference of the bowl, is an excellent tool and eliminates all of the manual work. Some stationary models have beaters that do not move around the inner circumference of the bowl, but rather, the bowl travels on a rotating stand as the beaters spin within the bowl. Kitchen tools such as blenders and food processors are not suitable for beating egg whites. | 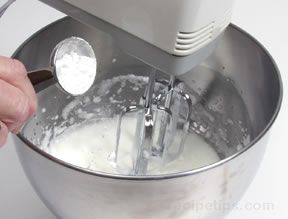 |
|
When using any electric mixer, begin beating the egg whites at a slow speed. Continue beating for about 1 minute. Cream of tartar can be added to the egg whites for stabilization of the beaten whites. After beating on a slow speed for 1 minute, gradually increase the speed until the egg whites reach their full volume. Don't be tempted to operate the mixer at high speed from the beginning of the process. This will not speed the process of beating the egg whites; in fact, the egg whites will not reach full volume. The entire beating process usually requires no more than 3 minutes when using a high quality electric mixer. The beaten egg whites should be folded immediately into any other ingredients used in the selected recipe. It is a good idea to have the other ingredients prepared and measured prior to beating the egg whites. The reason for this is because when the egg whites are beaten first and then set aside, the beaten egg whites will break down and lose volume while the other ingredients are being prepared, which will result in a substandard outcome. | |
Beating Egg Yolks
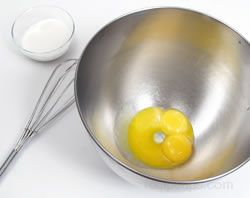
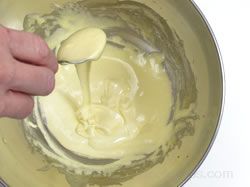
How to Achieve the Ribbon StageSome recipes, especially a number of desserts, require an egg yolk mixture in which the yolks are blended with sugar and beaten until the mixture reaches the "ribbon" stage. This helps to prevent the yolks from becoming granular when heat is applied. The ribbon stage refers to a phenomenon in which the egg yolk and sugar mixture forms a slowly disappearing ribbon on the surface of the mixture when some of it is lifted with a utensil and is allowed to fall back into the bowl. The ribbon stage can be achieved by beating the egg yolks and sugar by hand using a whisk or by beating the mixture with an electric mixer. | |
 |
 |
|
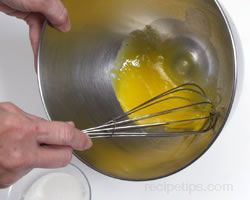
Add the required number of egg yolks (depending on the recipe) to a large bowl constructed of stainless steel or glass and begin to beat the yolks. It is not necessary to beat the yolks too vigorously. | |
 |
 |
|
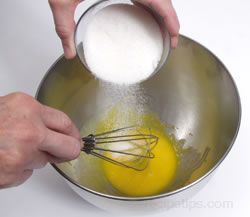
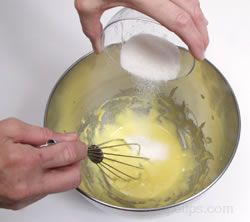
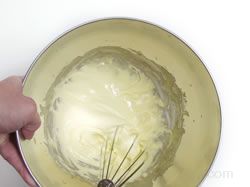
Add a small amount of the total quantity of the sugar that will be used in the mixture and begin to beat the yolks and sugar more briskly than before. The total quantity of sugar depends upon the amount called for in the recipe, as well as the number of egg yolks that are used. While beating the mixture, gradually add the remaining sugar. The mixture should become thicker and the color should lighten considerably. | |
 |
 |
|
Continue beating until approximately 3 minutes has elapsed from the time when the beating process was begun (when using a whisk). Do not over beat the mixture; otherwise, the egg yolks may become granular. The mixture should be thick and the color should be pale yellow. If the procedure is done correctly, a ribbon will form on the surface of the mixture within the bowl when some of the mixture drops from a coated utensil held above the surface. | |
Cooking and Beating Egg Yolks: Hollandaise SauceFor some recipes, egg yolks may require cooking as they are beaten. This is true of hollandaise sauce, which is an egg yolk and butter sauce flavored with lemon juice and pepper. When preparing hollandaise sauce, it is important to make sure that everything required for the recipe is within arms reach, because once the cooking process has begun, the beating of the egg yolks cannot stop. | |
 |
 |
|
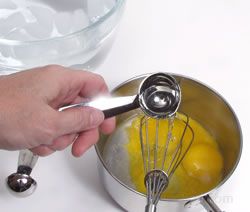
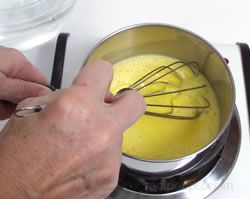
To begin the process of making hollandaise sauce, place the egg yolks in a small saucepan (which is not heated) and add one tablespoon of cold water per yolk. | |
 |
 |
|
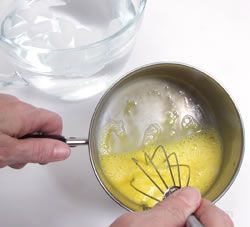
Whisk the egg yolks and water (off the heat) for about 45 to 60 seconds; then place the pan over low heat and continue to whisk rapidly. The egg yolks must heat slowly; otherwise, the yolks may become granular. If the heat is too high, the yolks will scramble. It is important to keep the egg yolks in constant motion. | |
 |
 |
|
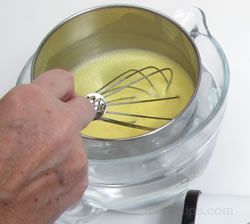
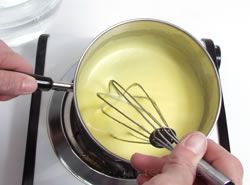
A sink or large bowl containing ice water should be nearby so that if the egg yolks begin to become too warm, the pan can be plunged into the cold water to stop the cooking process. When the egg yolks are smooth and have increased in volume (as shown in the picture on the right), remove the pan from the heat. You should be able to briefly see the bottom of the pan between strokes of the whisk. | |
 |
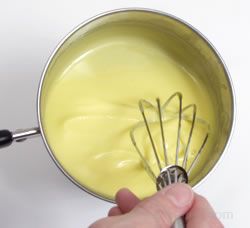 |
|
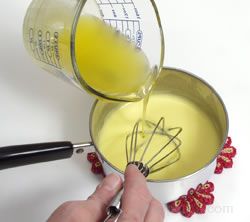
While whisking continuously, add clarified butter or softened whole butter to the yolks. If using clarified butter, make sure it is not too warm. Add the butter slowly, whisking in small amounts at a time. The sauce will not thicken properly if too much butter is added right away. One large egg yolk has the ability to absorb as much as 3 ounces of butte; however, it is advisable to use less than this (2 ounces per yolk is suitable) to ensure that the yolks absorb all of the butter. Using clarified butter makes the hollandaise sauce thicker; using whole butter, which contains milk solids and water, makes a thinner sauce. A thin sauce is appropriate for use on light recipes of fish, seafood, or asparagus; a thick sauce is best for serving on eggs benedict or steak. | |
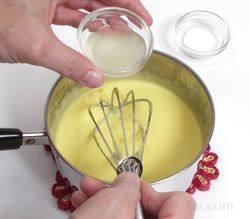 |
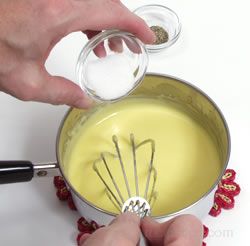 |
|
To finish the hollandaise sauce, add some lemon juice while whisking; then add some salt and white or black pepper to taste. To see a recipe for hollandaise sauce, including the exact ingredients and measurements, see, "Classic Hollandaise Sauce Recipe." | |
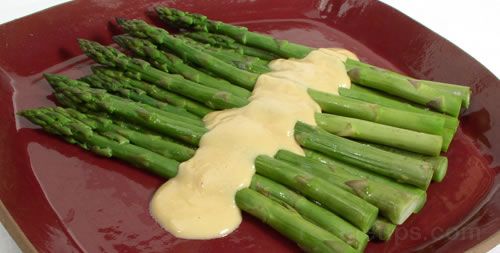 | |
|
There are several variations of hollandaise sauce that are prepared exactly the same as hollandaise. The only difference among the variations is the flavorings used to finish the sauces. Rather than lemon juice, the variations are flavored with other ingredients.
| |


